The Best 7-Day Utah National Park Road Trip
Utah has five beautiful national parks, all within hours of each other, and you can explore all five within one week. Although the national parks in Utah are close to each other, they all have different landscapes that will leave you in awe.
We spent an entire week exploring Southern Utah, and it was amazing! Our itinerary spent at least a day in Arches National Park, Canyonlands National Park, Capitol Reef National Park, Bryce Canyon National Park, and Zion National Park. Trust me when I tell you that it was epic, and you will love visiting all five national parks.
If you want to plan an epic week-long road trip through Utah’s national parks, you are in the right place! I created a fun 7-day Utah national park road trip itinerary to help you plan the best trip.
Disclaimer: This post contains affiliate links. If you click through and make a purchase, my blog may receive a commission at no additional cost to you.
Tips for Planning a Utah National Park Road Trip
Get to the parks early. The park entrances can have long entrance lines during peak season. On days that you cannot arrive early, I recommend adding time to your Utah road trip itinerary to accommodate traffic.
Pack food when you go into the parks. The national parks do not have food inside the park, so I highly suggest packing snacks and food to eat while you are in the park.
Buy the America the Beautiful Annual Pass! This pass allows you into all national parks for one year, and you will save money in Utah by purchasing this. You can buy the pass at any park entrance or any of the places listed here.
Always remember to leave no trace. It’s crucial to pack out what you pack in and leave no trash. Some of these spots have trash bins, so you can easily throw your trash away. If they don't have trash bins, you can throw your trash away at a nearby gas station or convenience store.
What to Pack for Utah
The weather in Southern Utah can be unpredictable, so it is crucial to pack the right gear and layers for the season you visit.
This is a great baseline for what to pack, and you can adjust as needed:
- hiking boots
- moisture-wicking clothes
- hiking backpack
- food and water
- rain jacket
- sunscreen
Looking for a fun way to track your visits to each national park?
Whether you're road tripping across the country or checking off national parks one weekend at a time, this journal is perfect to capture memories, reflect on experiences, and have a little fun along the way.
Each journal includes:
- full checklist of all U.S. National Parks
- pages for each national park with space for memories, highlights, and photos
- planning checklist to help prep for your next trip
- spots to rank your top parks and memories
- and fun extras like National Park Bingo!
7-Day Utah National Park Road Trip Itinerary
Fly into Salt Lake City International Airport, rent a car, and start your 7-day itinerary through Utah’s national parks by driving to Moab.
We flew into Salt Lake City Airport and stayed at a nearby hotel the night before we began our adventure because there weren’t any good morning flights. We picked up our rental car the following morning and drove four hours to Moab. The drive seems longer than it is at times because there isn’t much around, but before you know it, you’ll be in the cute town of Moab and spending two days there!
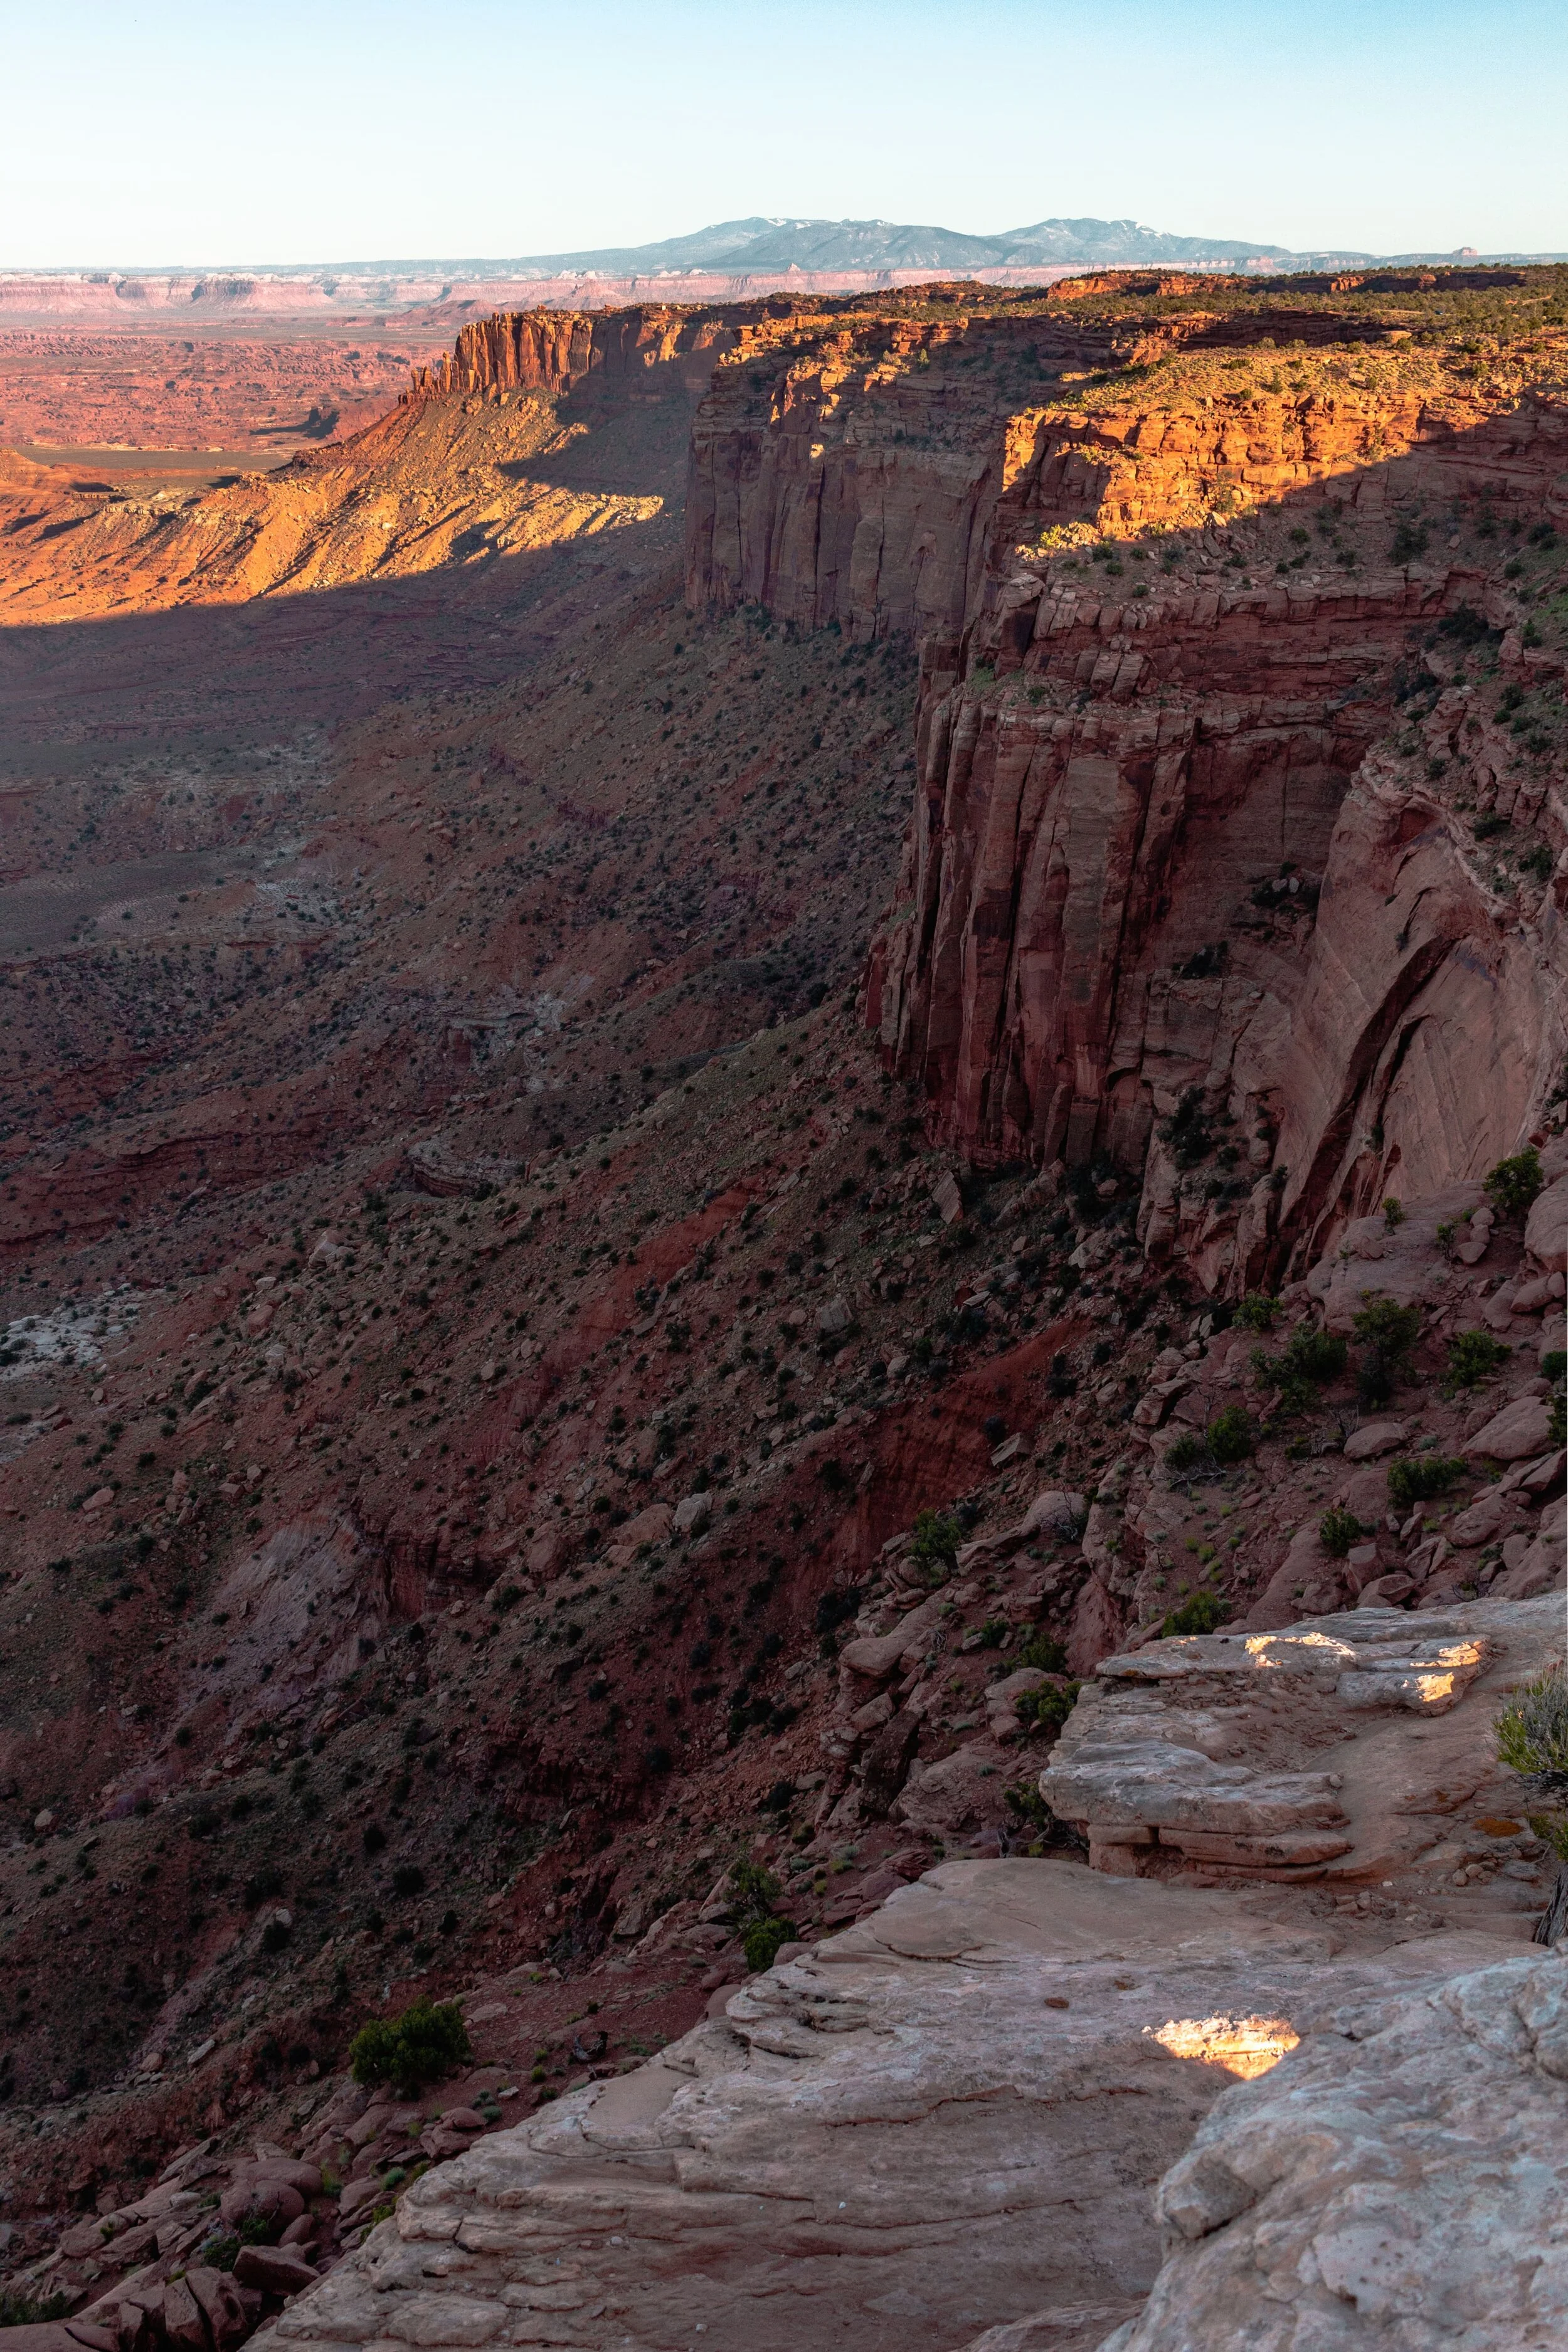
Day 1: Canyonlands National Park
Before you explore Canyonlands National Park, you should know the park consists of four districts: Island in the Sky, The Needles, The Maze, and the rivers. We will only be diving into the most popular district, Island in the Sky because it is the easiest to access. If you want to tack on another district, you will need to add a few more days to your itinerary.
Things to Do:
Shafer Canyon Overlook is the first stop in the park and gives you an incredible canyon view. You do not have to hike, so you can park and head on over to the overlook area.
Mesa Arch is the most iconic spot in the park. An easy, 0.6-mile roundtrip hike leads you to an arch on the edge of the canyon, and it is beautiful! If you are up for a sunrise adventure, I recommend going to Mesa Arch for sunrise.
Whale Rock is an easy 0.8-mile roundtrip hike that climbs up on a rounded sandstone that looks similar to a whale leading you to beautiful views over Upheaval Dome. There are handrails to help you get to the top of the dome, too.
Green River Overlook Road is a 1.5-mile road that brings you to Green River Overlook. Hiking is not required to get the beautiful canyon views that seem to go on forever!
Along the main scenic drive, Candlestick Tower Overlook, Buck Canyon Overlook, and Orange Cliffs Overlook are beautiful overlooks that offer stunning views without hiking!
The final and BEST stop, in my opinion, is Grand View Point. An easy 2-mile roundtrip hike brings you to the edge of the canyon, and the views are incredible, especially during sunset. If you do not want to hike, you can enjoy the views from the parking lot.
Where to Stay:
Moab is the best place to stay for your first two days in Utah because it is closest to the park and has everything you need, including restaurants, shops, and grocery stores.
Hotels:
- SpringHill Suites by Marriott Moab
- Fairfield Inn & Suites by Marriott Moab
- Holiday Inn Express & Suites Moab
- Aarchway Inn
Campgrounds:

READ MORE:
Day 2: Arches National Park
It is time to wake up early and head to Arches National Park! Arches National Park has so much to see, and there are beautiful overlooks every few feet, so I recommend waking up early to have enough time to stop at every viewpoint.
Things to Do:
Park Avenue Trail is the first trail in Arches National Park and worth a stop because the views are stunning. An easy, 2-mile roundtrip trail brings you to the bottom of a canyon and offers an up-close and personal experience to massive monoliths that will make you feel small in the best way!
If you do not want to hike the Park Avenue Trail, you can view the Courthouse Towers from the Courthouse Towers Viewpoint.
Delicate Arch is one of the most iconic spots in Arches National Park, and there are three ways you can experience it. The first two viewpoints (Upper and Lower) are located at the end of the road and are the easiest ways to view Delicate Arch because they only require short hikes. The third is the most difficult and requires a 3.2-mile roundtrip hike, but it allows you to get up close and personal with the arch. If you want to see Delicate Arch in its prime, I recommend visiting for sunrise.
Balance Rock is another iconic attraction in Arches National Park. A large rock sits on top of another and seems to be barely balancing, and it is a beautiful and unique sight! You can follow the short 0.3-mile roundtrip trail to loop around Balanced Rock and get an up-close and personal experience with it.
Sand Dune Arch stands out from many of the arches in the park because it is between sandstone fins. It is one of my favorite arches because it is so unique! An easy 0.3-mile roundtrip hike brings you to the arch, and if you want to tackle a longer trail, you can add Broken Arch and Tapestry Arch to create a 2.7-mile loop.
The final attraction in Arches National Park is a strenuous and long trail, Devils Garden Loop. Now, do not let that scare you away! You do not have to hike the entire 9-mile trail to get views. The beginning of the hike is well maintained and offers views of many beautiful arches, and if you do not want to hike the entire loop, I recommend turning around here. If you want to hike the entire trail, I suggest starting earlier in the morning to avoid the sun when it is the highest and hottest and planning 4-6 hours for the hike.
Now, I know some of you might be wondering why I skipped some of the most iconic arches. Well, my friends, that is because I want you to visit The Windows, Turret Arch, and Double Arch at the end of the day. These arches are the perfect spots to watch the sunset. And the best part? They only require at most 1-mile roundtrip hikes to each of them. This was honestly one of my favorite spots in Arches National Park.


READ MORE:
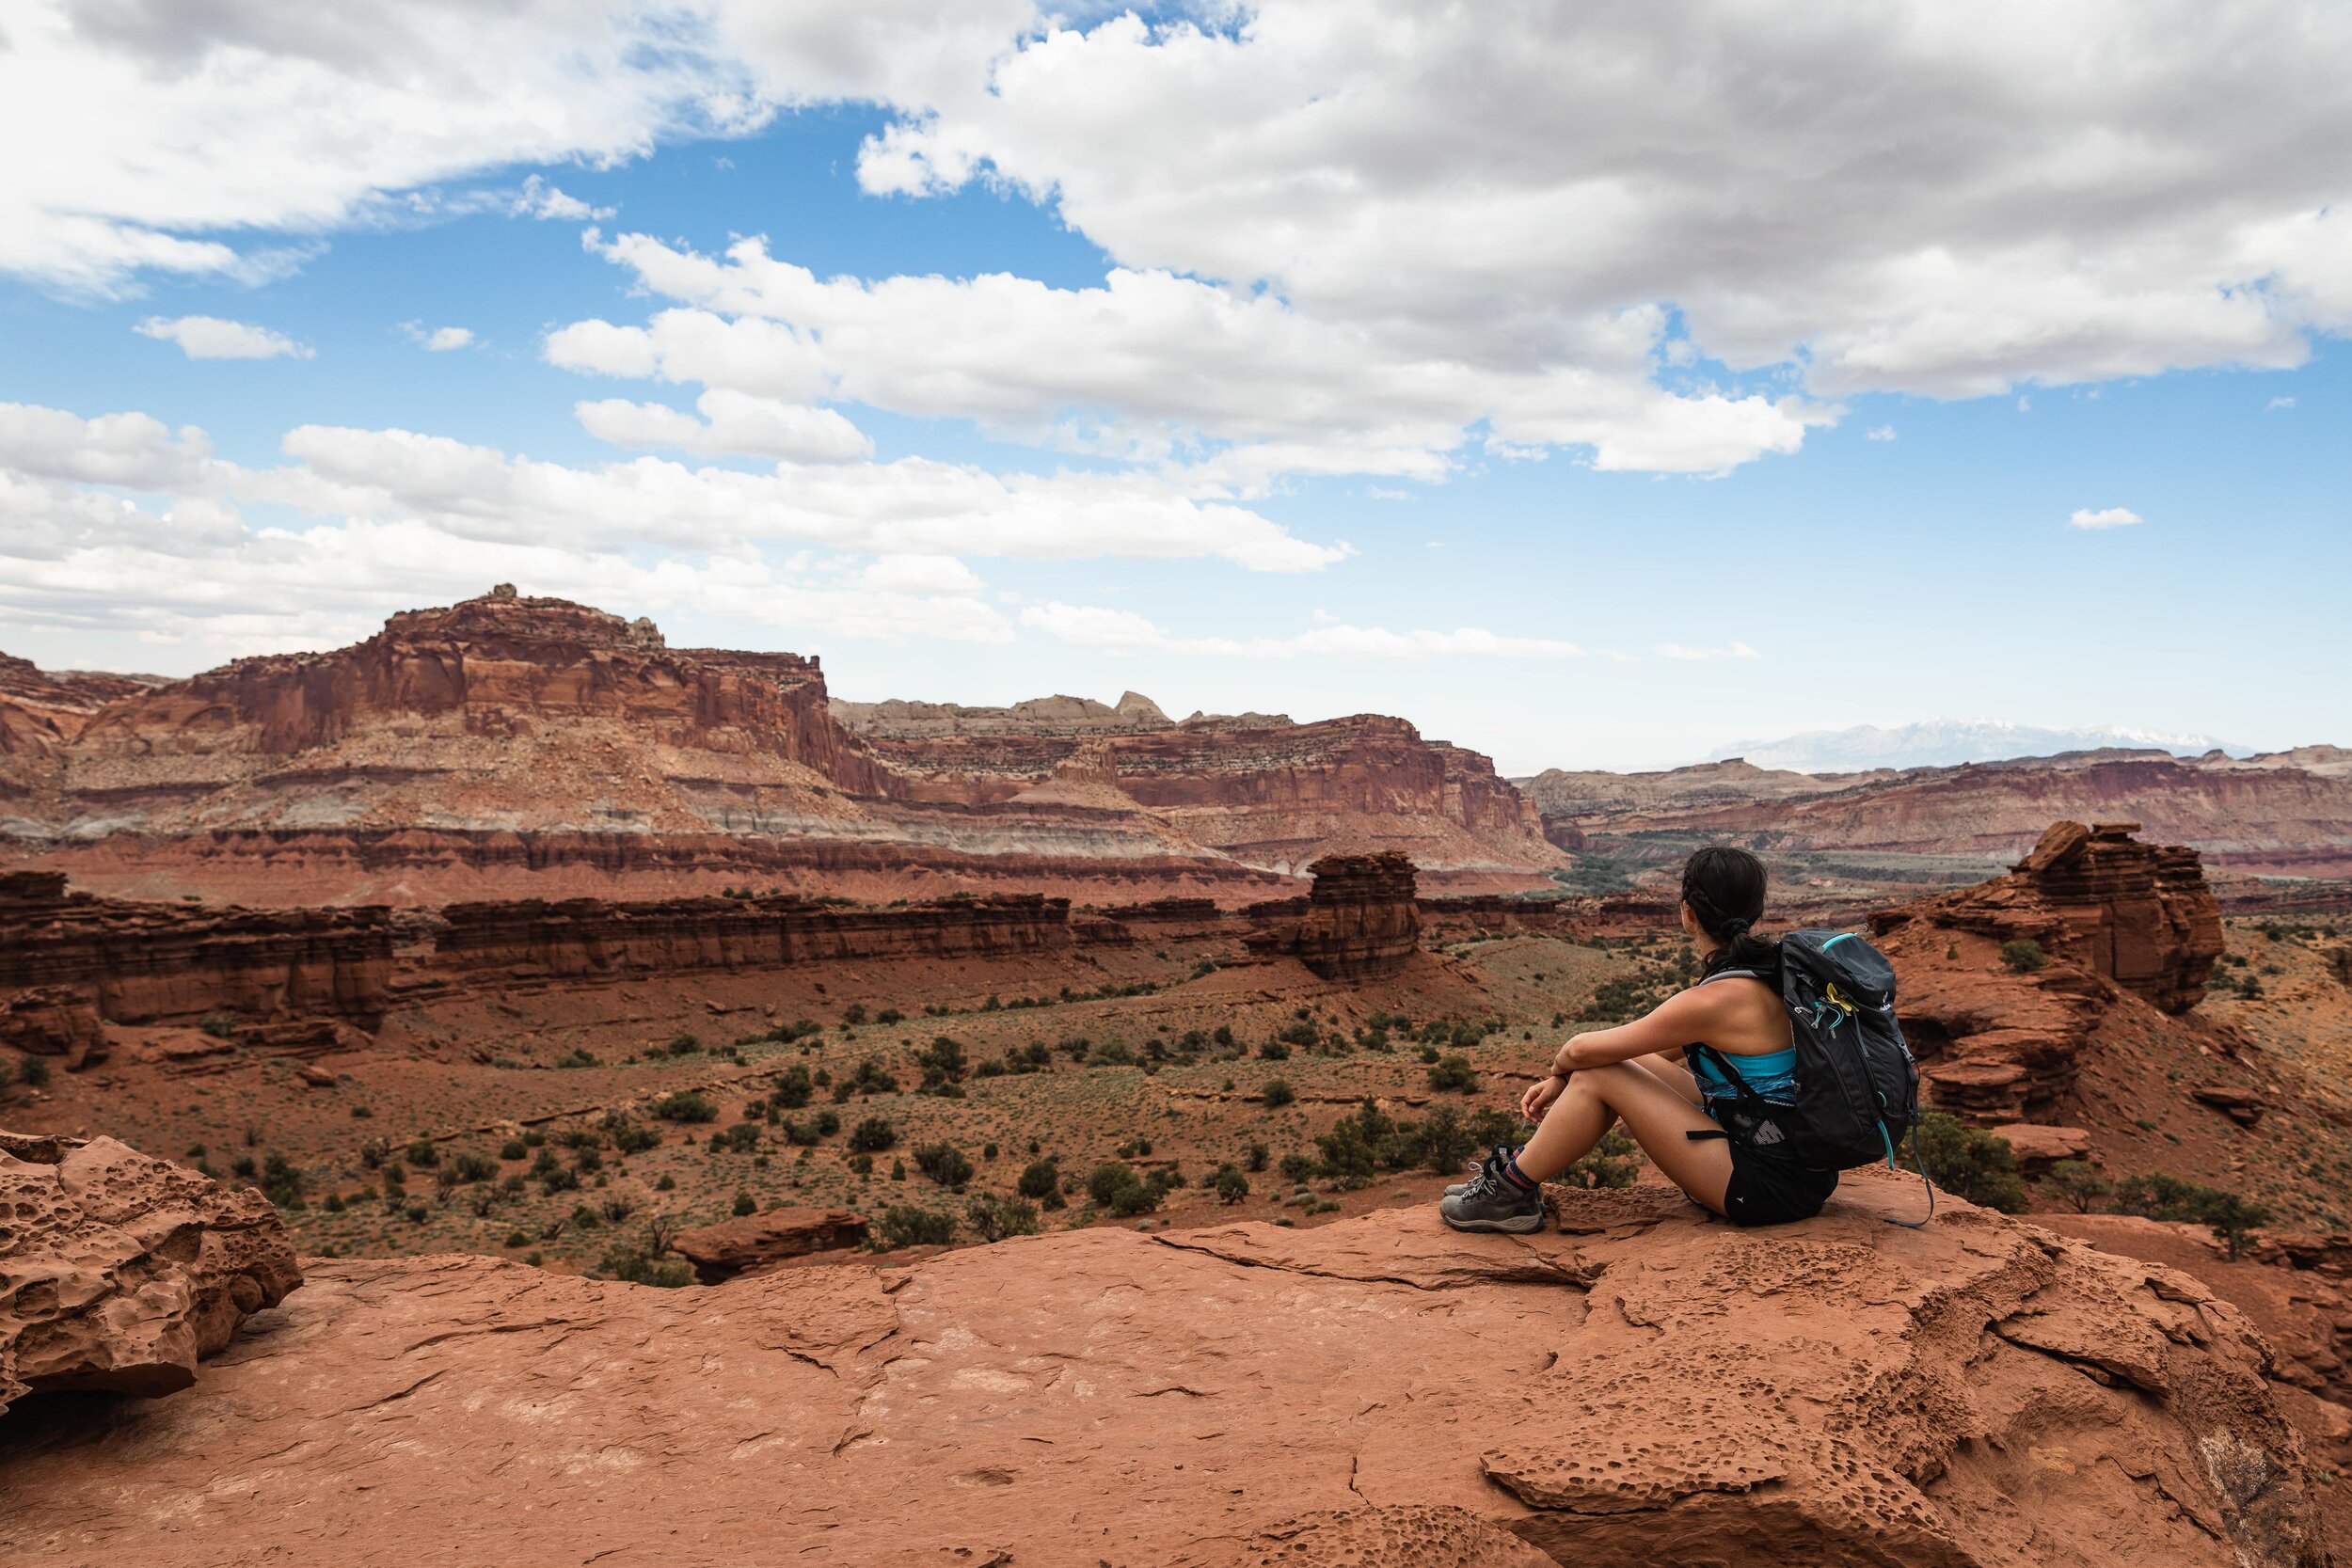
Day 3: Capitol Reef National Park
Time to pack up your stuff and begin the 2.5-hour drive to Capitol Reef National Park! I recommend grabbing food-to-go in Moab because there will not be many places to stop on the drive.
Capitol Reef National Park is the most underrated national park in Utah, in my opinion. Some people skip it, but I think allocating a day to the park is well worth it!
Things to Do:
Hickman Natural Bridge is the first stop in Capitol Reef National Park and is one of the most popular hikes. An easy, 2-mile roundtrip hike brings you to a stone arch that is 125 feet tall and 133 feet long. It was one of my favorite hikes and a great way to start of the day!
Just past Hickman Natural Bridge is the beginning of the scenic drive. This beautiful 8-mile long road brings you to some of the most beautiful overlooks and hikes in the park! NOTE: Most of this drive is prone is flash flooding, so make sure you check the weather before you explore here.
The scenic drive travels through the historic town of Fruita, and if you like cinnamon buns, make sure to stop at the Gifford House! Their baked goods are delicious!
Cassidy Arch is the next stop on the scenic drive and my favorite spot in the park! The 3.5-mile roundtrip trail is a strenuous, bringing you high up on a cliff to a beautiful arch. This hike is not for the faint of heart because you gain the elevation quickly. If you do not want to hike, you can view Cassidy Arch from a viewpoint at the beginning of the road.
The last stop on the road is Capitol Gorge. This road is not paved, so a 4x4 is recommended to explore the area. There is also an easy, 2-mile roundtrip hike, leading to Golden Throne, Pioneer Register (150-year-old Pioneer inscriptions), Water Tanks, and Capitol Gorge. It was really cool and worth the stop!
After exploring the scenic drive, it is time to head back to Route 24 and explore the last few viewpoints in the park, Goosenecks Overlook and Sunset Point. These two viewpoints are next to each other and require very short hikes. I recommend visiting them for sunset because seeing these landscapes during golden hour is amazing!
Where to Stay:
We stayed in Torrey, which was just outside the park. It is a small town, but it has accommodations, restaurants, and shops.Hotels:
Campgrounds:


READ MORE:
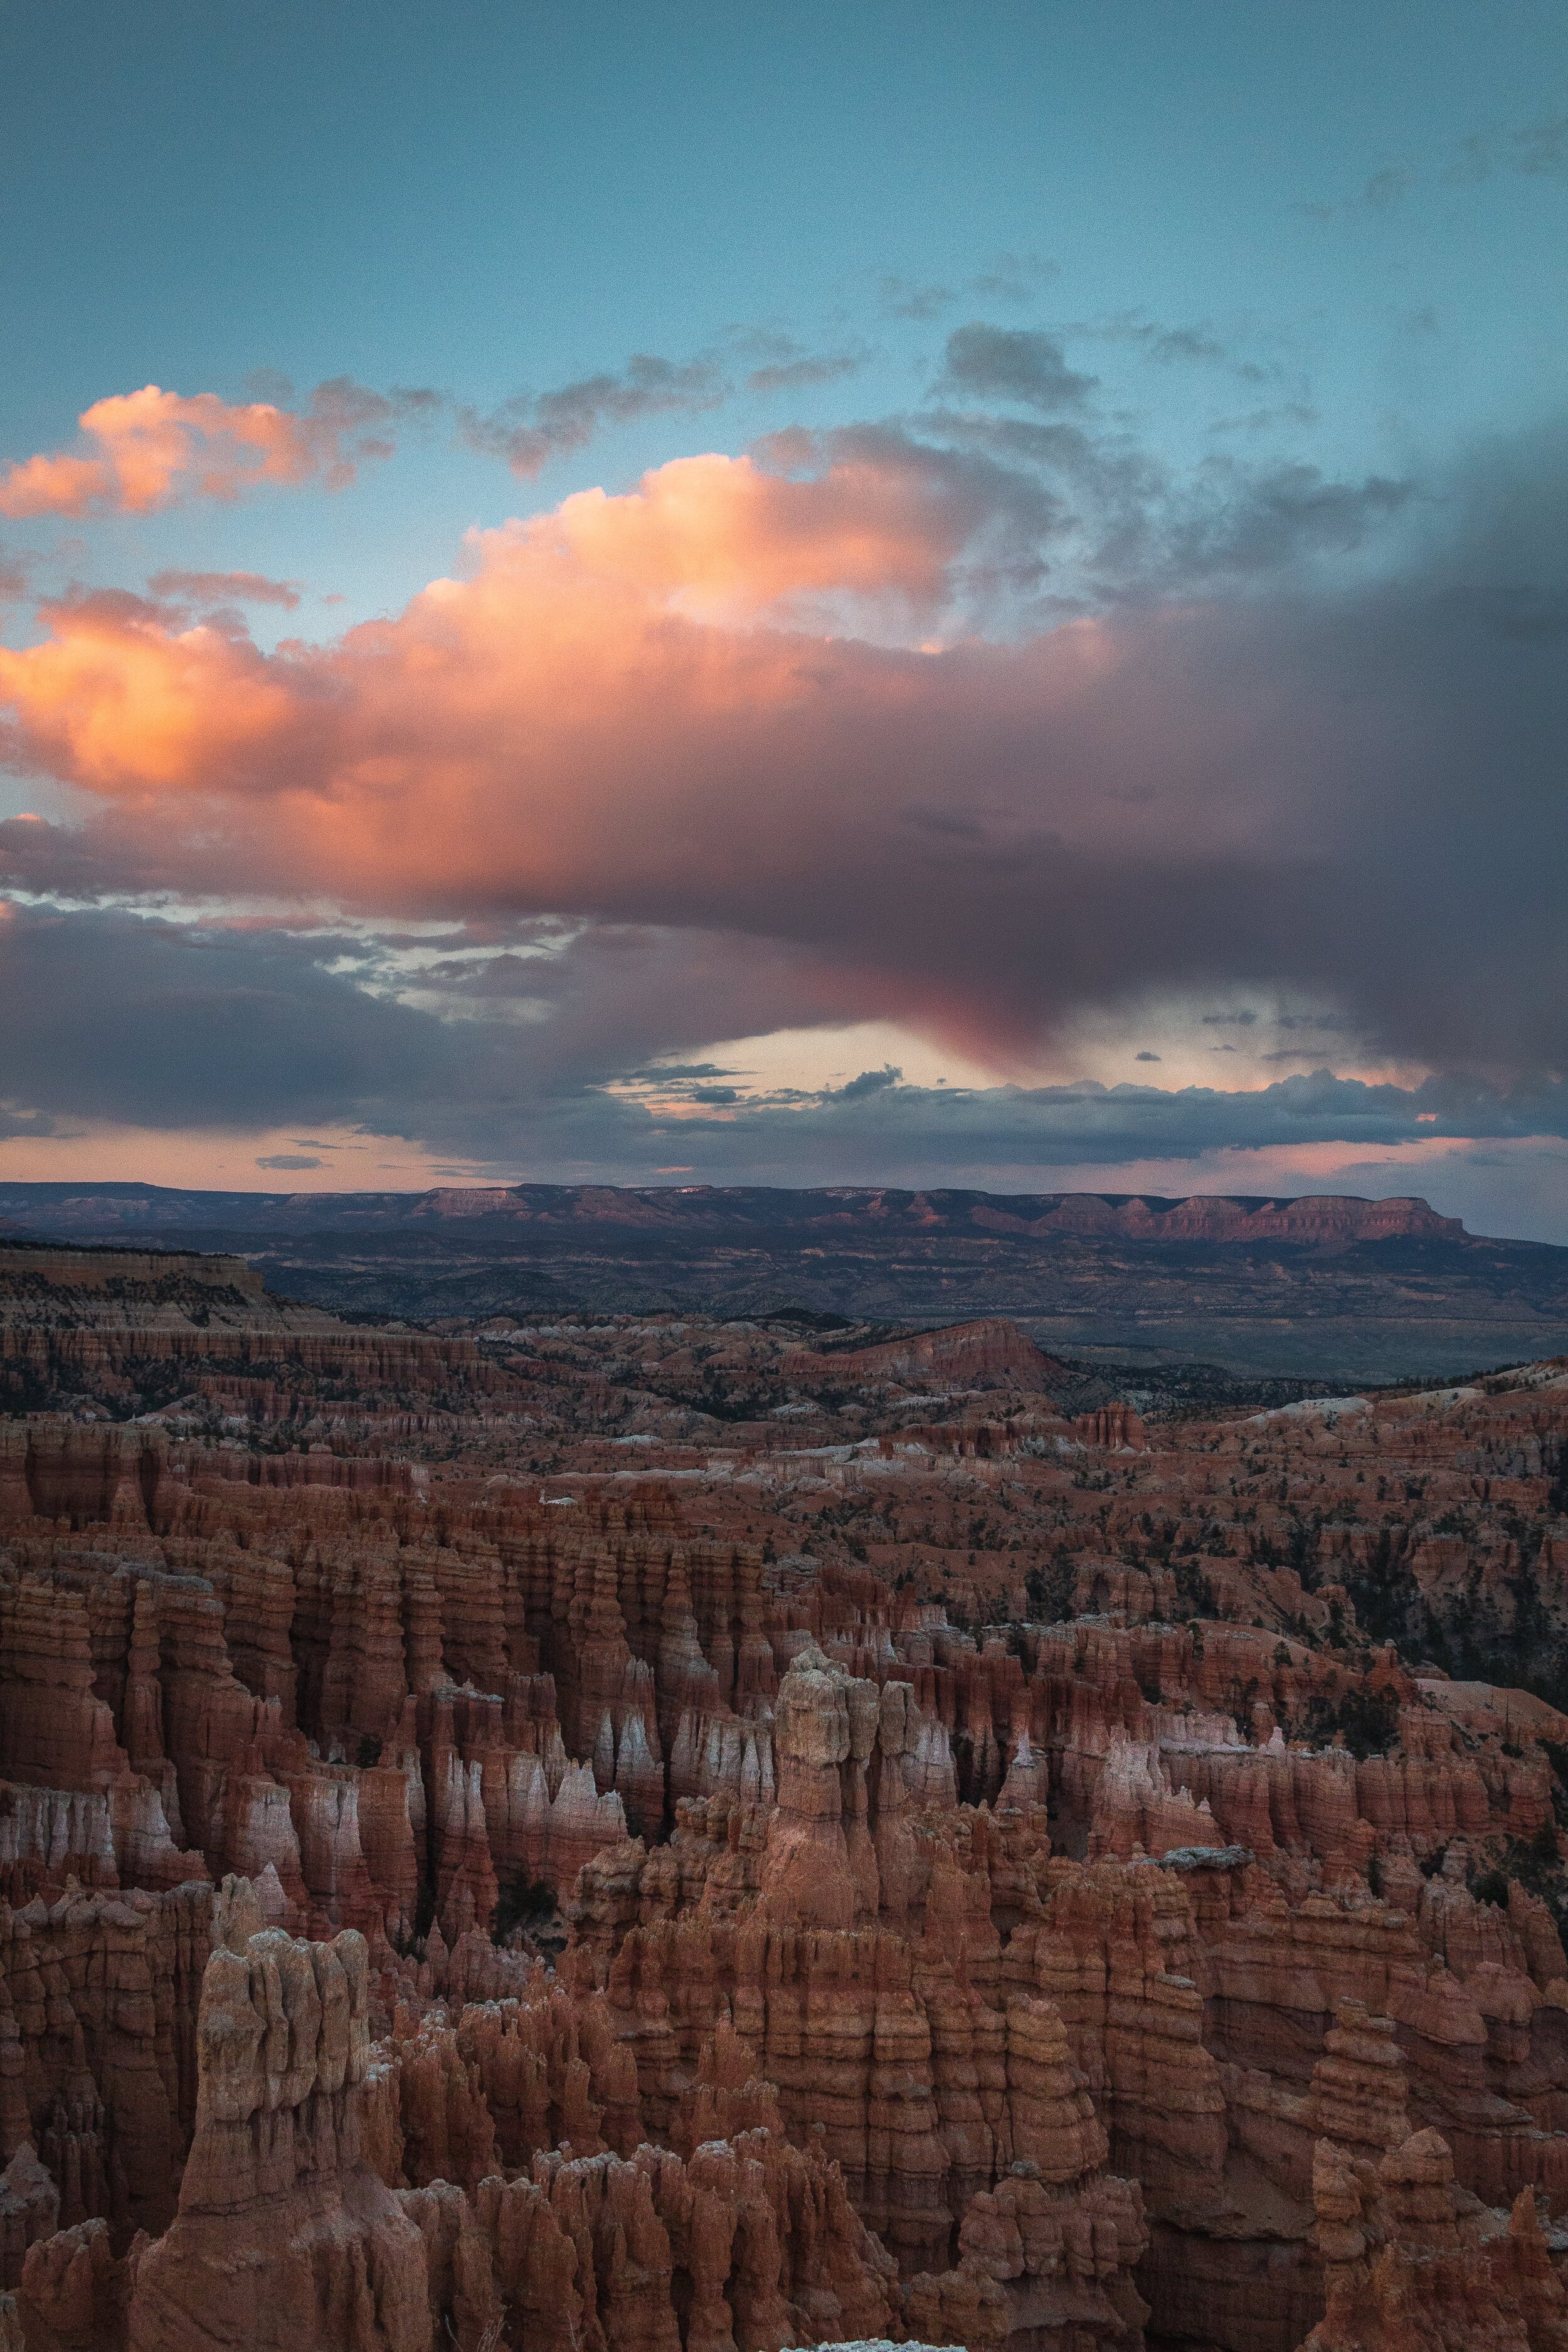
Day 4: Bryce Canyon National Park
You are halfway through your road trip, but you still have two more beautiful national parks to visit! I recommend waking up early to drive 2.5 hours to Bryce Canyon National Park and explore the land of hoodoos.
Similar to the other national parks, Bryce Canyon National Park has a lot of viewpoints. I only note a few that were my favorite, but I recommend stopping at every single one in the park if you have time.
Things to Do:
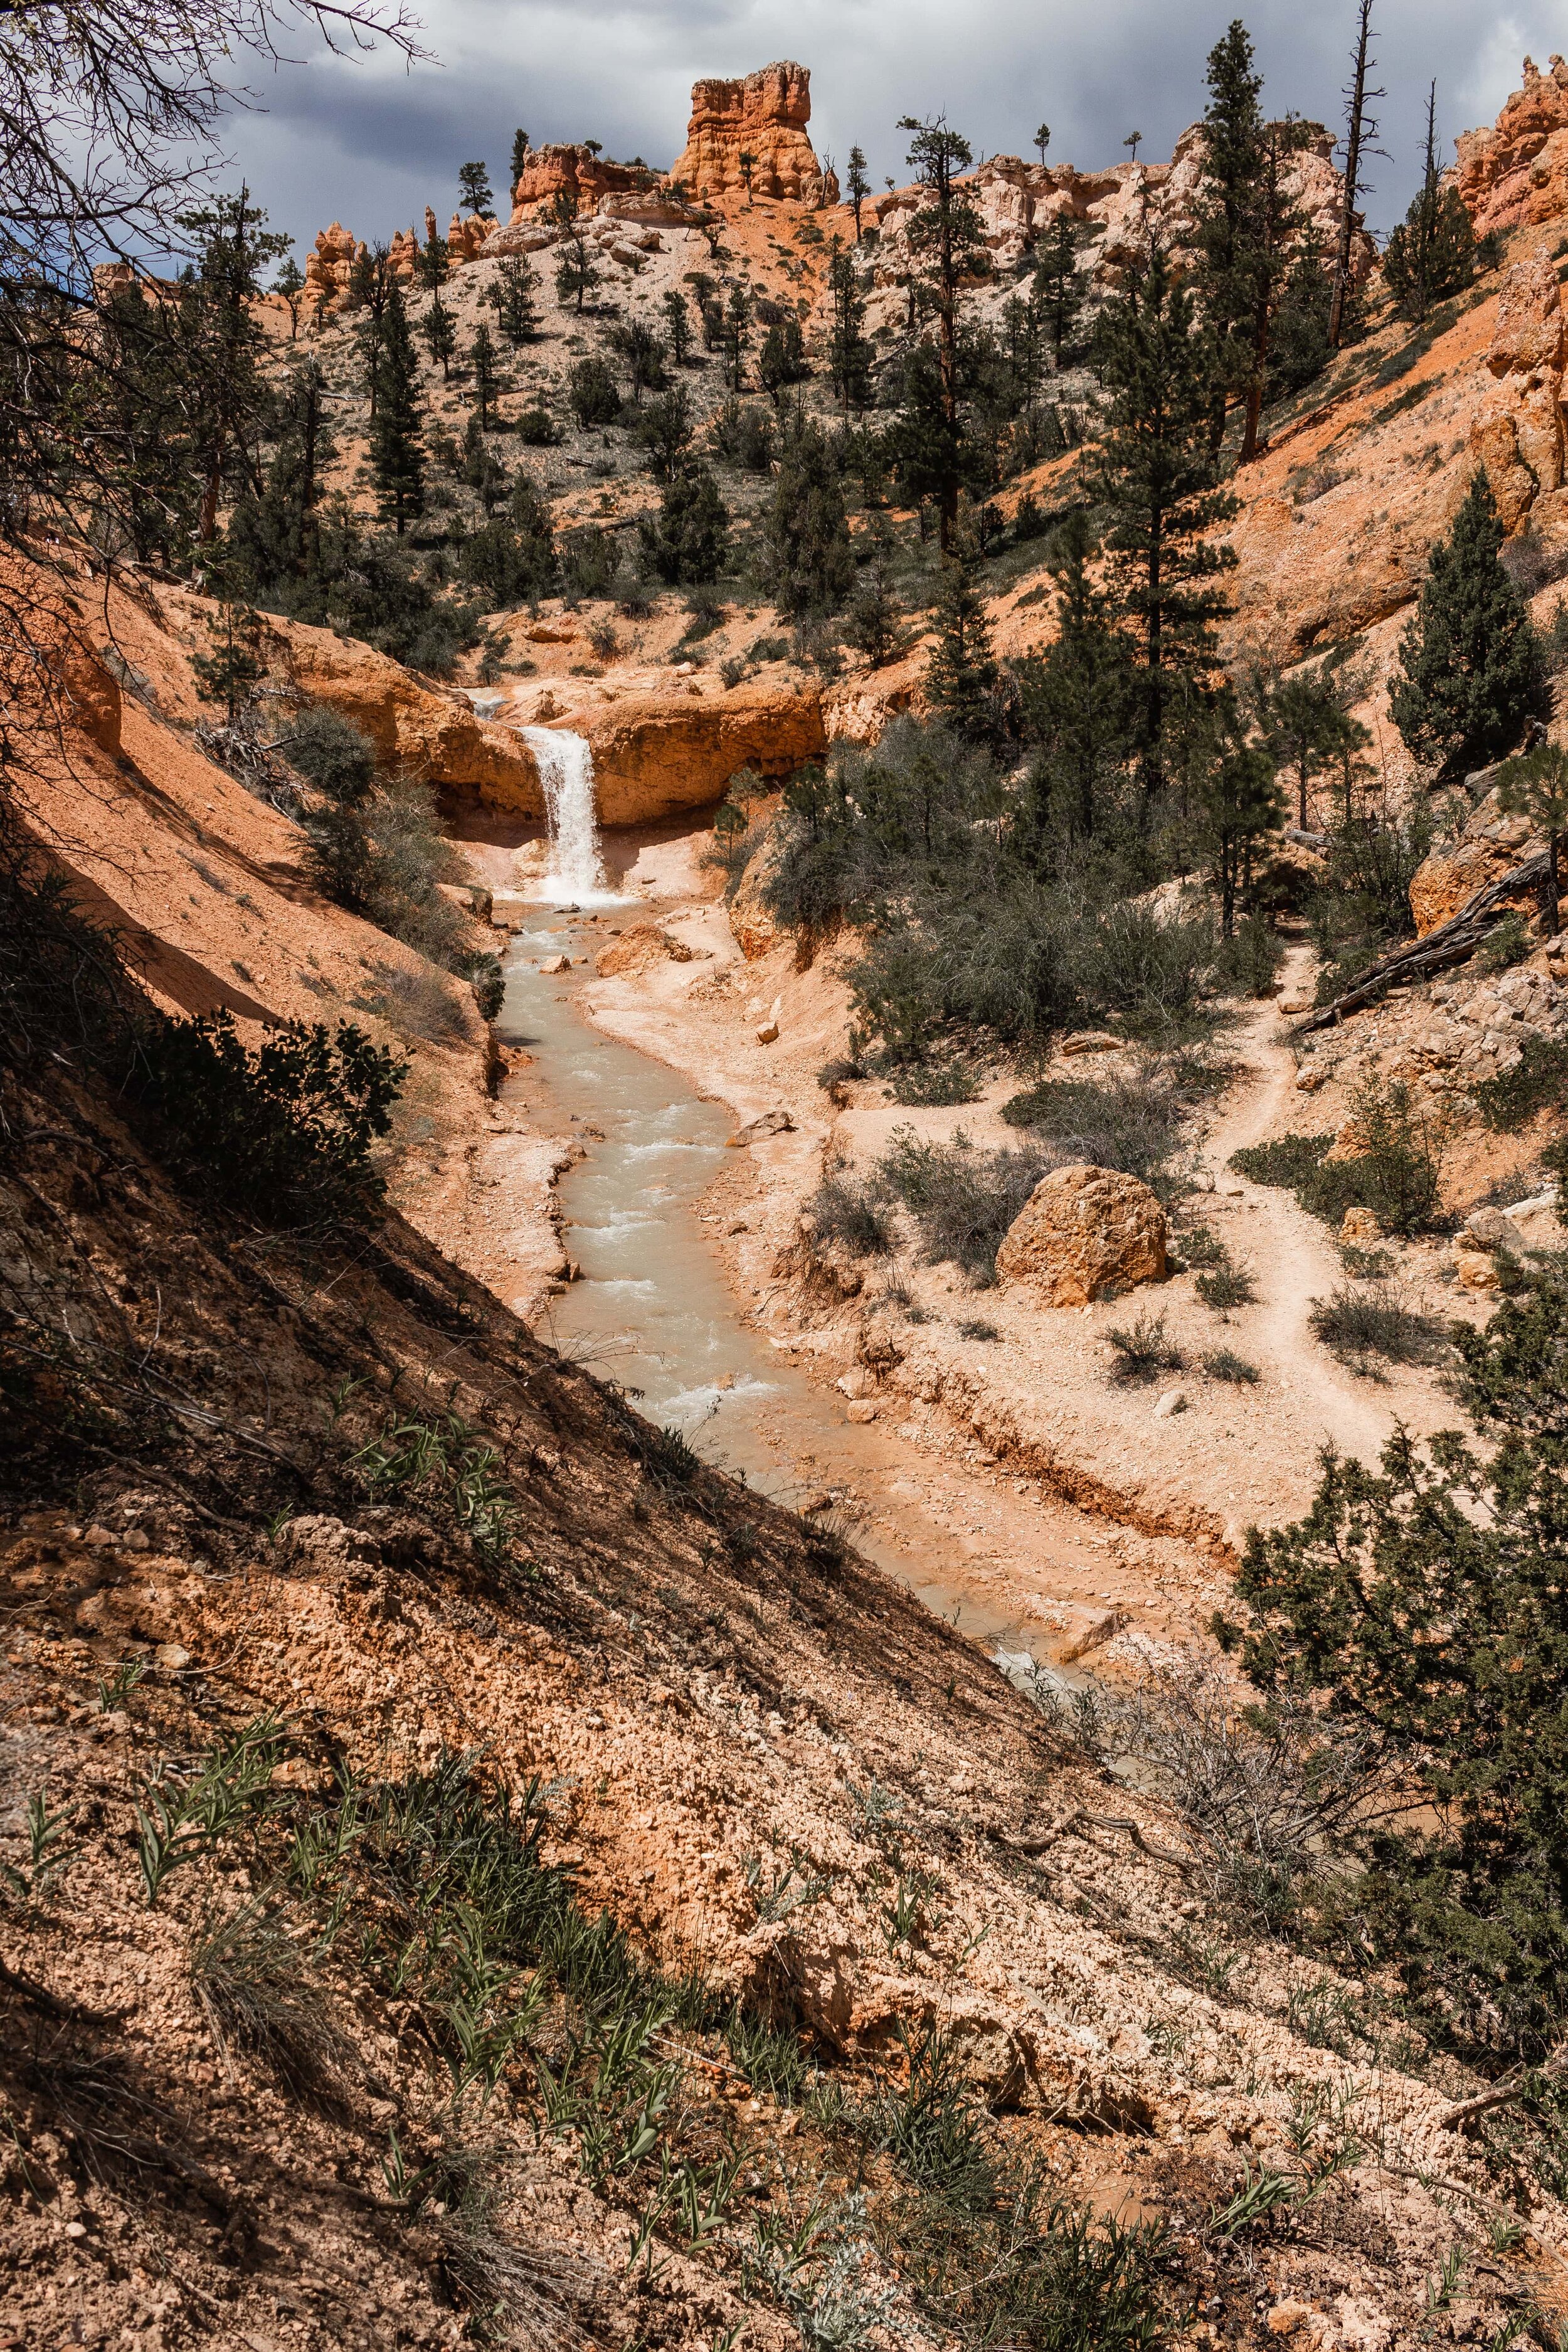
Fairyland Point is the first stop in Bryce Canyon National Park but is before the park entrance. You can either enjoy the views from the overlook or hike Fairyland Loop. Fairyland Loop is a strenuous 8.3-mile roundtrip hike that snakes down into the canyon, bringing you up-close and personal with hoodoos. This hike was honestly one of my favorites in the park!
Sunset Point and Sunrise Point are the first overlooks past the park entrance and are some of the most popular because they have beautiful views of the Bryce Amphitheater. I recommend stopping at one and walking the short distance to the other.
If you want to get up-close and personal with hoodoos, Navajo Loop is the perfect hike for you! The 1.4-mile roundtrip hike begins at Sunset Point and travels down into the canyon, passing some of the most well-known hoodoos. You can also add the Queen’s Garden Trail (which I highly recommend!) for an incredible 3-mile roundtrip hike.
Inspiration Point and Bryce Point are the next two viewpoints, and both are beautiful. These are fantastic spots for sunset because they offer amazing views, and everyone will be at Sunset Point, so it will be less crowded.
The last viewpoints in Bryce Canyon National Park are some of my favorites because they are very different from the others. Yovimpa Point and Rainbow Point are over 9,000 feet high and offer incredible views that seem to go on forever, and it is a great place to view Bryce Canyon’s Grand Staircase of rock layers. I recommend hiking the Bristlecone Loop, an easy, 1-mile roundtrip hike, to get to each viewpoint instead of trying to find parking.
For sunset, I recommend heading back to your favorite viewpoint. We watched the sunset from Inspiration Point, and it was spectacular! But honestly, you cannot go wrong with any of the viewpoints since they are all beautiful.
Where to Stay:
I recommend finding accommodations in the town of Bryce, which is right outside the park entrance. Bryce has everything you need, including hotels, restaurants, and grocery stores.
Because Bryce is the closest town to the park, the accommodations are expensive, so you can find some less expensive options in neaby towns.
Hotels:
Campgrounds:

READ MORE:
Days 5-6: Zion National Park
You are finally at the final national park on this road trip! I recommend waking up early to start the 1.5-hour drive to the iconic Zion National Park. The next two days will be in Zion National Park, so get your cameras and hiking boots ready.
Zion Canyon Scenic Drive is closed to private cars most of the year. Because of this, you have to take the shuttle to see all of the attractions off the road. I recommend parking at the Visitors Center before 8:00 AM to secure a spot to get the shuttle. If you are staying in Springdale, you can also take the shuttle from downtown Springdale to the Visitors Center and then catch the Zion shuttle from there.
Things to Do:
If you are coming in from the east entrance on your first day, Canyon Overlook will be the first stop in the park. Parking is very limited, and I suggest parking in a pullover area as soon as you see an opening. We walked about 5 minutes to get to the trail, but it was worth it because there were no openings closer to the trailhead. Canyon Overlook is an easy, 1-mile roundtrip hike that leads to a breathtaking canyon view, and it will quickly become one of your favorite hikes!
The Narrows is a classic Zion hike that provides a fun experience walking through an iconic canyon in the river. The hike begins at the Riverside Walk and continues into The Narrows, where you start to get your feet wet. You can hike as far as you want before turning around to head back.
Emerald Pools is another classic hike to small but beautiful waterfalls. The 2-mile roundtrip hike starts near the Zion Lodge and brings you to Lower, Middle, and Upper Emerald Pools. When we visited in the summer the waterfalls were small but still beautiful!
Canyon Junction Bridge is the perfect spot for sunset. It is one of the most photographed spots in Zion National Park! It does not require a hike, and it can be very crowded before sunset, so I recommend getting there early if you want to take the classic sunset photo of the Watchman. Trust me, you will love watching the sunset here!
The Pa’rus Trail is the most accessible hike in Zion National Park and is the only one that allows bikes and pets. It is a beautiful and easy 3-mile roundtrip hike along the Virgin River that links Canyon Junction Bridge and the Visitor Center. We walked along the trail before sunset, and it was gorgeous.
If you are craving an adrenaline-pumping hike, Angels Landing is for you! This 6-mile roundtrip hike is considered one of the most dangerous hikes in the US. Angels Landing has vertical drop-offs on either side of the trail, so it is not for the faint of heart.
Note: The park is piloting a lottery permit system to decrease the congestion on the trail. You can apply for a permit before your trip during windows of days or the day before.
If you want to get away from the crowds, Kolob Canyon is for you! Kolob Canyon is tucked in the northwest corner of Zion National Park and is the least-visited area. It is about a 45-minute drive from Springdale and offers a beautiful 5-mile scenic drive with viewpoints and trailheads. At the end of the scenic drive, there is a short and beautiful 1-mile hike to Timber Creek Overlook.
Where to Stay:
Springdale is the best place to stay because it is the closest to the park entrance. The cute town has everything you need, including hotels, restaurants, cute shops, and a grocery store.
We loved staying in Springdale, but the accommodations can be expensive. Other towns a bit further out tend to have less expensive accommodations.
Hotels:
Campgrounds:


READ MORE:
Day 7: Final Day in Utah
After eating your last breakfast in Springdale and maybe even catching the sunrise at Canyon Overlook or Canyon Junction Bridge, it is time to say goodbye to Zion National Park and make the 2.5-hour drive to Harry Reid International Airport to fly home.
If your flight is later in the day, you can explore Las Vegas or take a quick detour to Valley of Fire State Park. Valley of Fire State Park is a beautiful state park with viewpoints and hikes, such as Pink Canyon, The Fire Wave, and the Beehives. It is a great way to break up the drive to Las Vegas, so if you have time, I highly recommend stopping there!

Hopefully this guide is helping you plan an incredible trip to Southern Utah! We absolutely loved our week exploring Utah, so I know you will love going on a 7-day Utah national park road trip.

Hey, I’m Nichole!
I am the creator behind Nichole the Nomad, the home of my explorations around the world, mountain hikes, and beautiful pictures taken along the way. I have a deep passion for capturing the world in a beautiful light and sharing my experiences.
I created this blog to share my travels, show how beautiful the world is, provide tips and tricks for traveling, and encourage you to explore. Whether you want to travel across the world or explore what’s in your backyard, I hope this blog inspires you to get outside and find your adventure!
More Utah Travel Inspiration!
Easy Hikes in Zion National Park
The Best 3-Day Bryce Canyon and Zion Itinerary
The Best Things to Do in Arches National Park
The Best Things to Do in Canyonlands National Park
The Best Things to Do in Capitol Reef National Park
Pin it for later!